STAFF BLOG
GoogleカレンダーAPIを使って、GoogleカレンダーをWEBサイトで表示しよう!
Web制作
2020/7/10
GoogleカレンダーAPIを使って、GoogleカレンダーをWEBサイトで表示しよう!

目次
Googleカレンダー
まずGoogleカレンダーを準備してください。GoogleAPIキーを取得します。
GoogleカレンダーのAPI取得方法FULL CALENDARをダウンロード
リンク先ページに「Latest:fullcalender-3.9.0.zip」などのリンクがあるのでクリックダウンロード 本家
必要ファイル
|
1 2 3 4 5 6 |
<link href="calendar/fullcalendar.css" rel="stylesheet" > <script src="calendar/lib/moment.min.js"></script> <script src="calendar/fullcalendar.min.js"></script> <script src="calendar/gcal.min.js"></script> <script src='calendar/locale/ja.js'></script> |
ソースとコード
|
1 2 3 4 5 6 7 8 9 10 11 12 13 14 15 16 17 18 19 20 21 22 23 |
<script> $(document).ready(function() { $('#calendar').fullCalendar({ header: { left: 'prev,next today', center: 'title', right: 'month,listYear' }, displayEventTime: false, googleCalendarApiKey: 'ここに取得したAPIキーを入力', events: 'ここにカレンダーIDを入力', eventClick: function(event) { // opens events in a popup window window.open(event.url, 'gcalevent', 'width=700,height=600'); return false; }, loading: function(bool) { $('#loading').toggle(bool); } }); }); </script> |
カレンダーを表示させたい場所に
|
1 |
<div id="calendar"></div> |
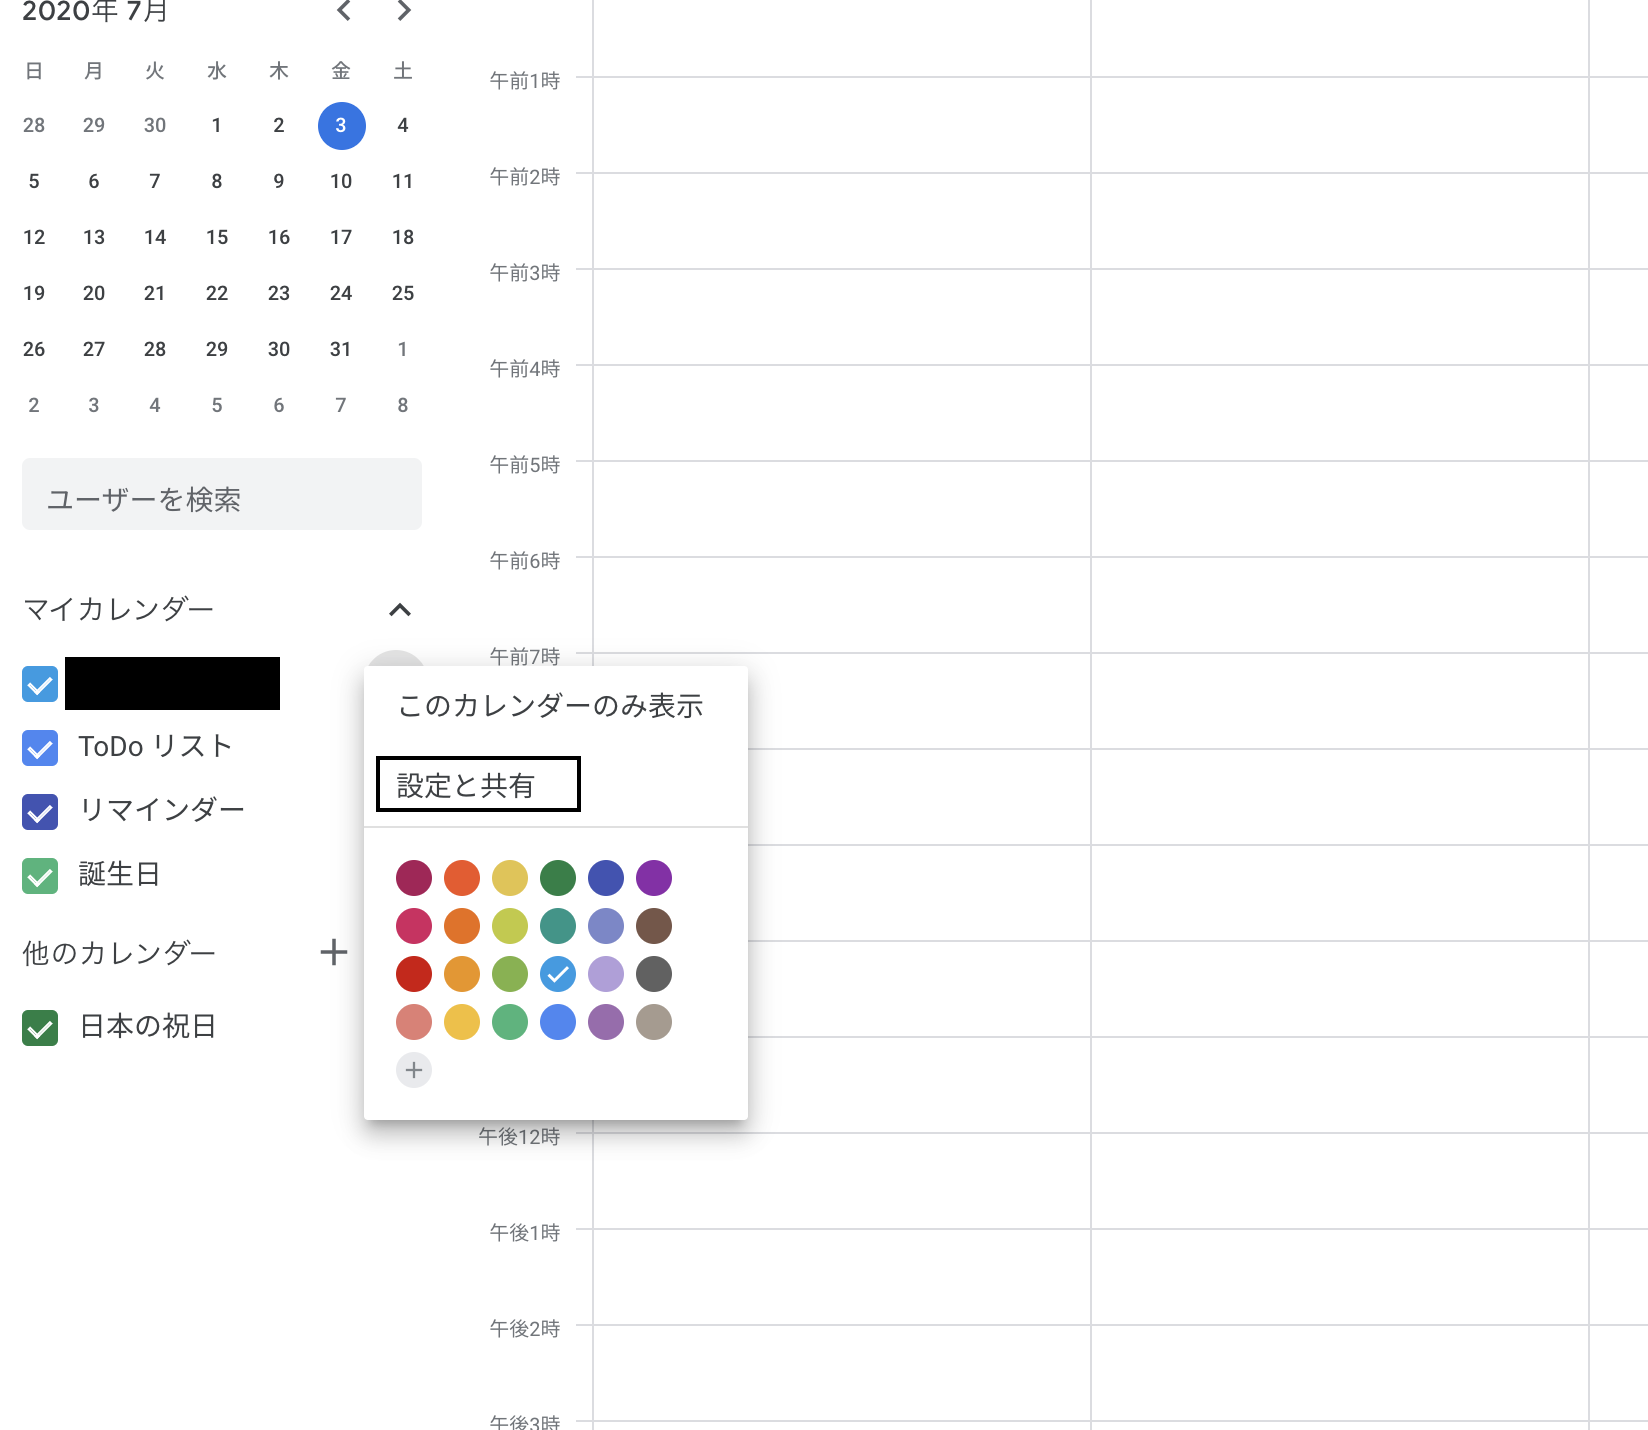
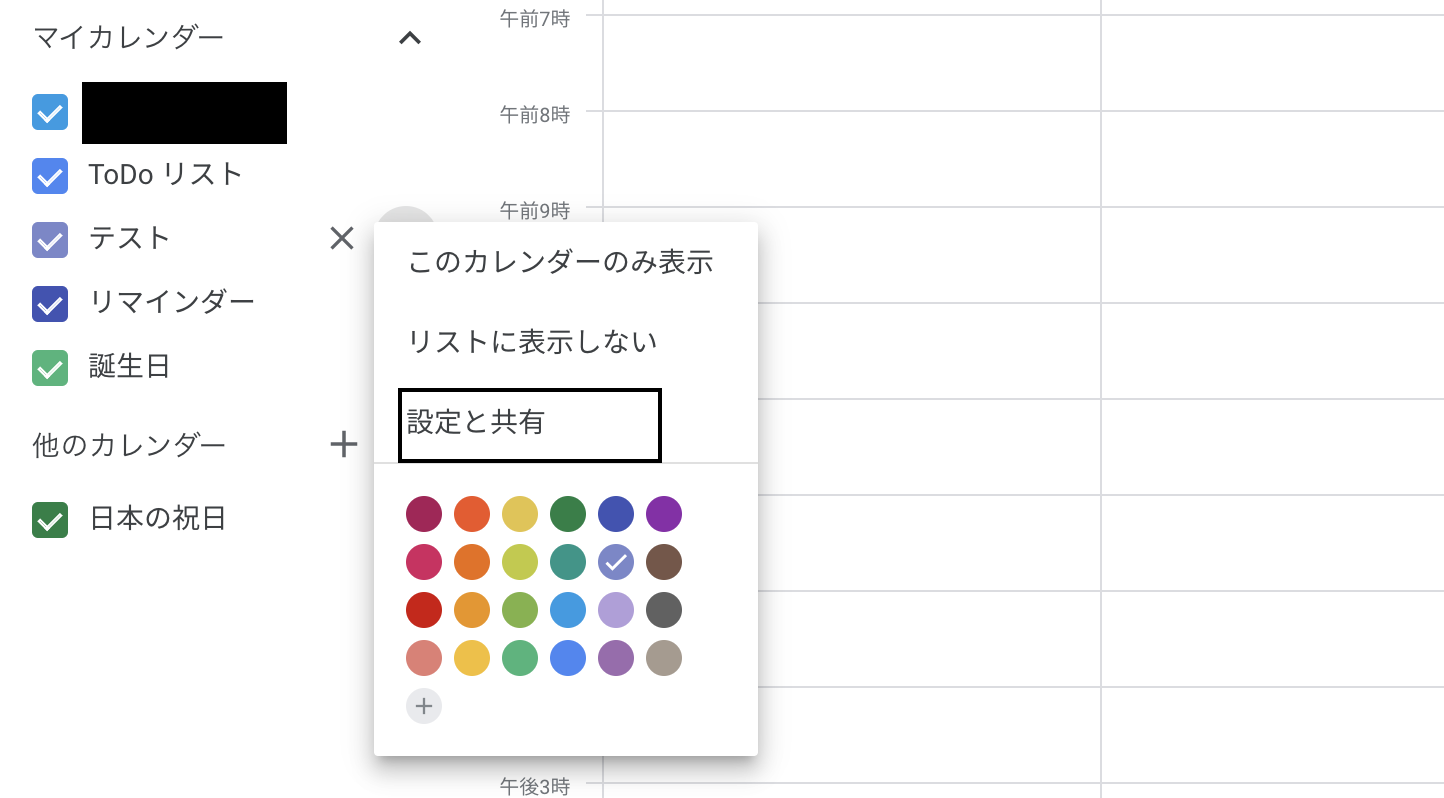
カレンダーの設定
設定と共有をクリック
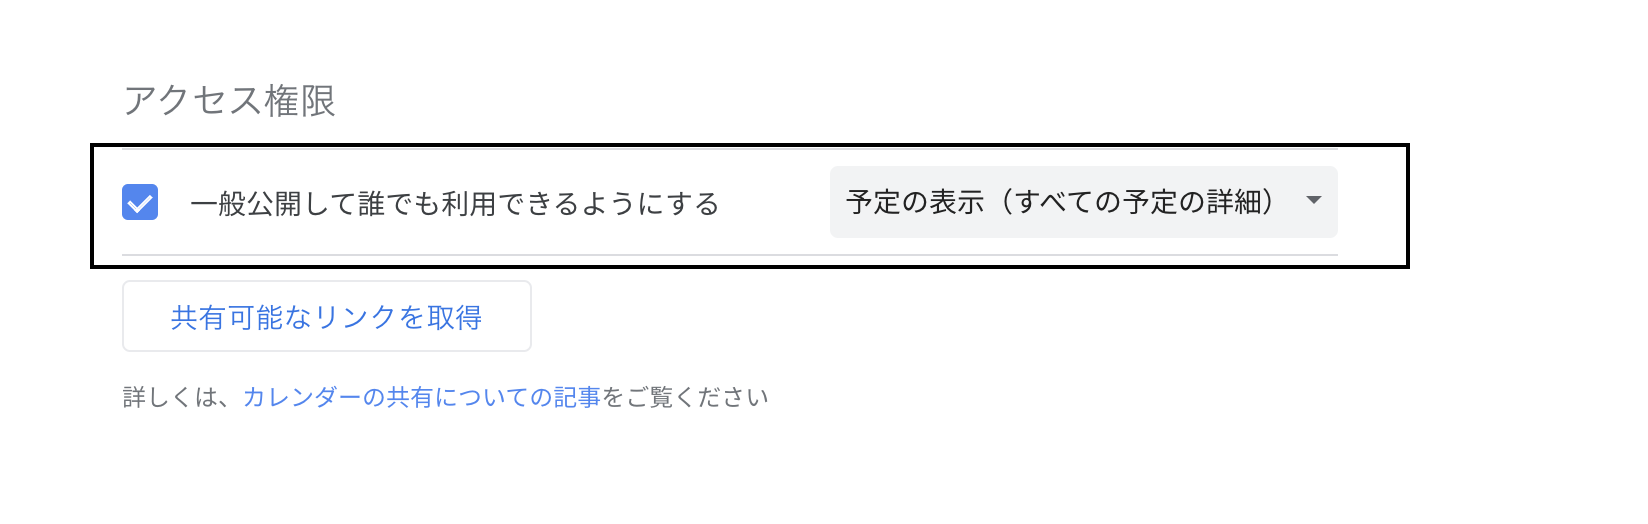
アクセス制限
「一般公開して誰でも利用できるようにする」にチェックする
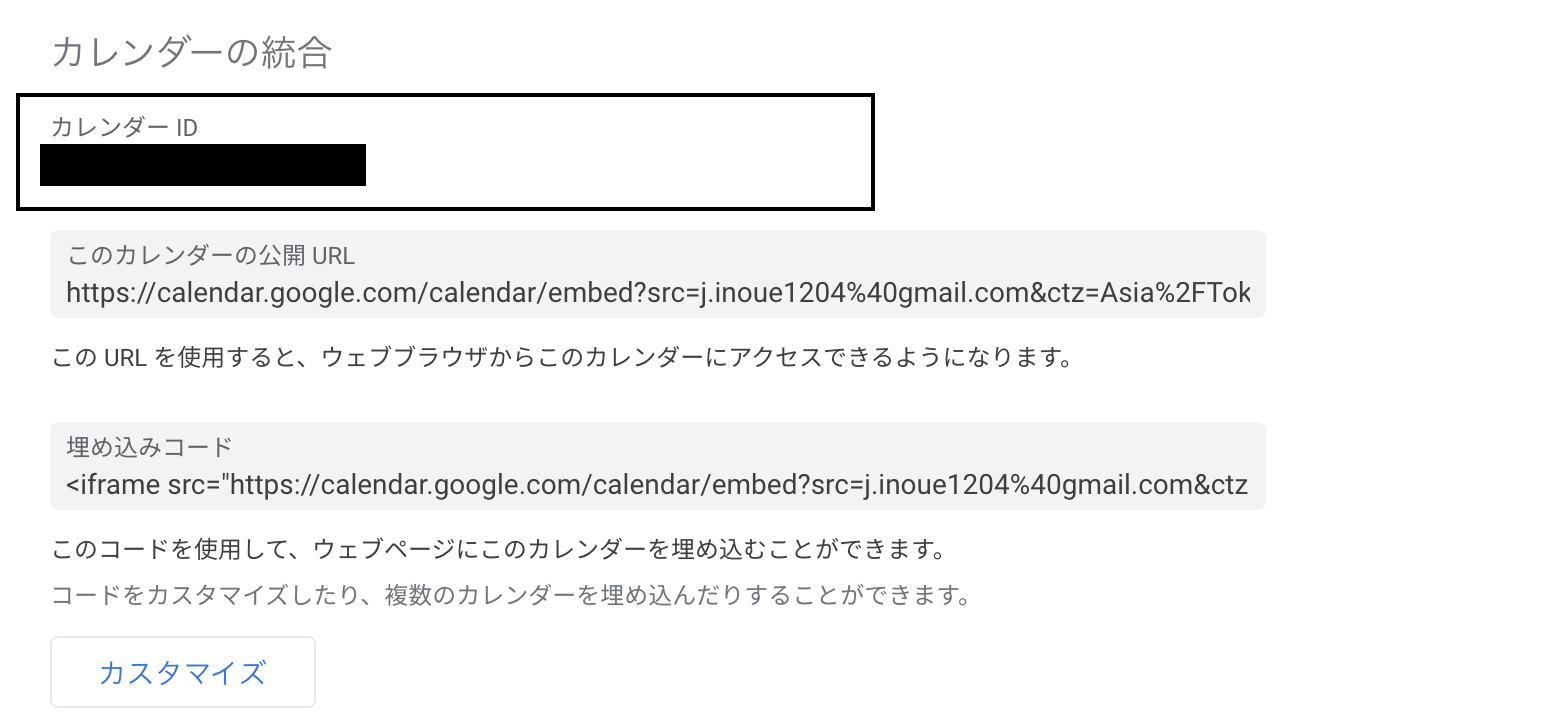
カレンダーの統合
カレンダーIDをコピーする
 以上で、カレンダーが表示されたと思います。
ソースとコード 複数の時
|
1 2 3 4 5 6 7 8 9 10 11 12 13 14 15 16 17 18 19 20 21 22 23 24 25 26 27 28 29 30 31 32 33 34 |
<script> $(document).ready(function() { $('#calendar').fullCalendar({ header: { left: 'prev,next today', center: 'title', right: 'month,listYear' }, displayEventTime: false, googleCalendarApiKey: 'ここに取得したAPIキー', //events: 'ここにカレンダーIDを入力', eventSources: [ { //スケジュール1 googleCalendarId: 'カレンダーID1', className: 'calendar_1' }, { //スケジュール2 googleCalendarId: 'カレンダーID2', className: 'calendar_2' } ], eventClick: function(event) { // opens events in a popup window window.open(event.url, 'gcalevent', 'width=700,height=600'); return false; }, loading: function(bool) { $('#loading').toggle(bool); } }); }); </script> |
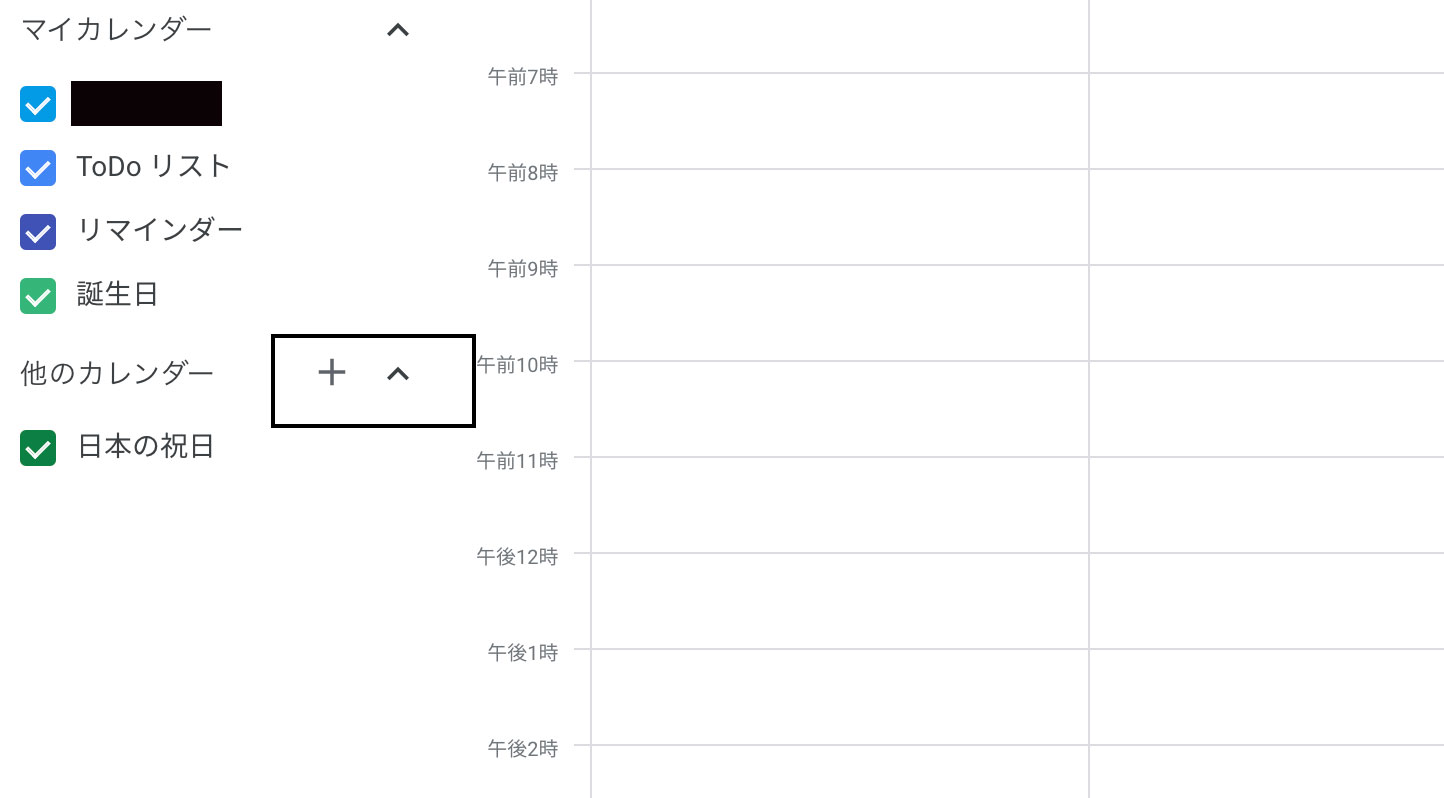
複数項目の追加
他のカレンダーから項目を増やす
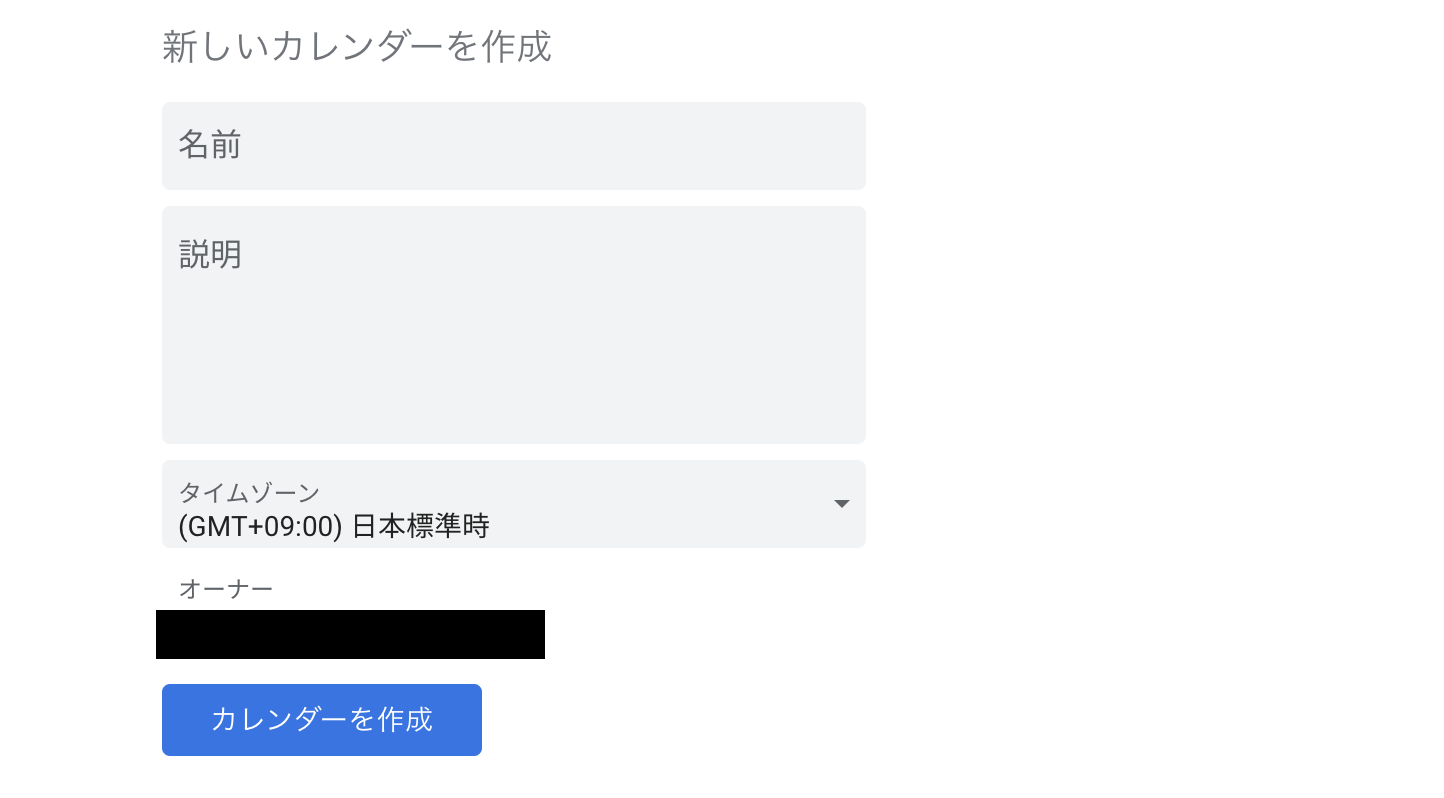
項目の設定
項目を設定してカレンダーを作成
設定と共有をクリック
あとは、上記で説明した、アクセス制限とカレンダーの統合で設定を行ってください。